In this detailed Canva review, I’m going to look at all the key pros and cons of an increasingly popular app for designing visual materials. Is it right for your business? Or should you stick with a professional desktop app like Adobe Photoshop?
What is Canva?
Canva is a graphic design app that aims to let you design visual materials without needing extensive graphic design experience. Typically, the tool is used to create social media graphics, simple videos, presentations, slides, posters and other visual assets — and a wide range of customizable templates and royalty free images is provided to help users do so easily.
Unlike traditional graphic design tools like Adobe Illustrator and Photoshop, Canva’s learning curve is designed to be extremely gentle. This means that its feature set is more basic that these sorts of ‘pro’ solutions — but its pricing is considerably lower than them too.
Launched in 2013 by technology entrepreneur Melanie Perkins, Canva is now a hugely popular solution for creating designs, boasting over 100 million monthly active users in over 190 countries.
Over 13 billion designs have been created with the tool and 3,200 staff members now work for the company.
Canva can be used either in a web browser or as a downloadable app (for Mac, PC, Chromebook , iOS or Android).
It gives you three key things to help you create your design:
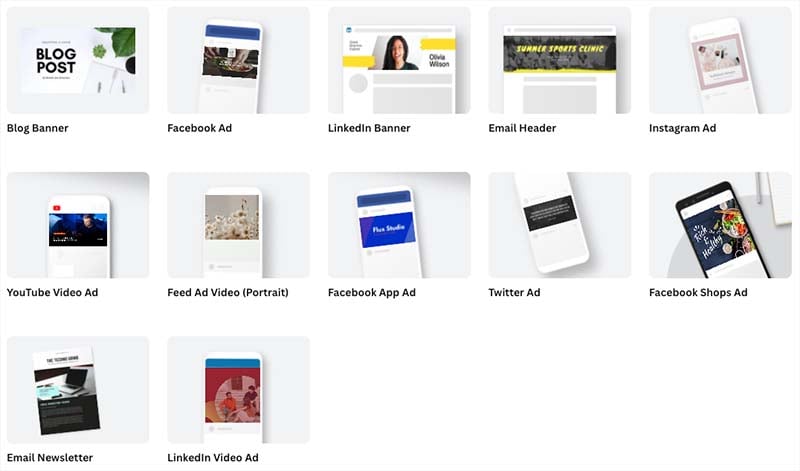
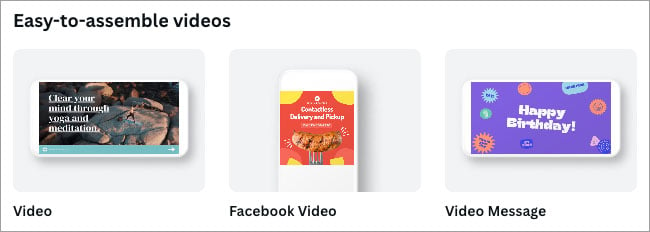
- templates — pre-designed layouts that you can use for a wide range of applications (for example to create presentations, videos, adverts, infographics or charts)
- ‘elements‘ — royalty free photos, videos and graphics that you can add to your Canva templates
- a drag and drop editor that lets you move elements around a template.
Additionally, Canva provides controls for editing the typefaces and colours used on a template; it also lets you create custom templates.
The idea is that you simply pick a template, drop some content into it, make a few tweaks and then export your design for use online or as a printed item.
But how easy is this in practice?
Ease of use
When you log into Canva, you are presented with a question: ‘What will you design?’
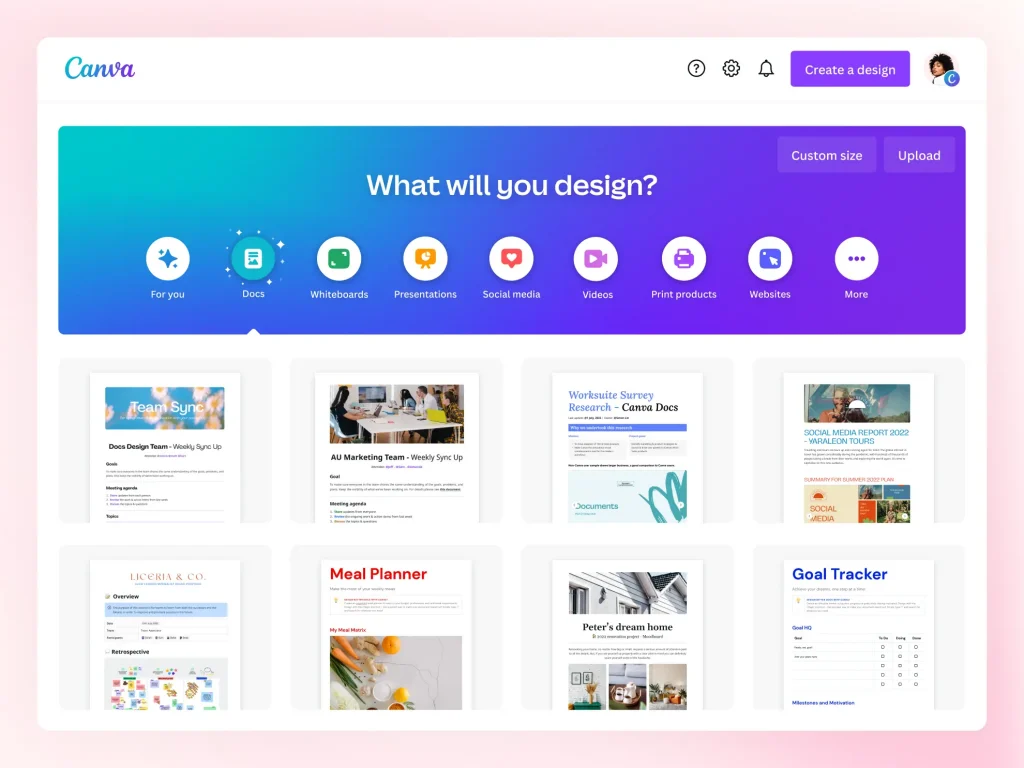
You can answer this question by entering design ideas in the search bar provided, or clicking the icons underneath it to access suggested layouts for presentations, social media posts, videos, printed products and more.
Either way, you’ll end up with a wide range of templates to choose from. You can pick one of these as the starting point for your design.
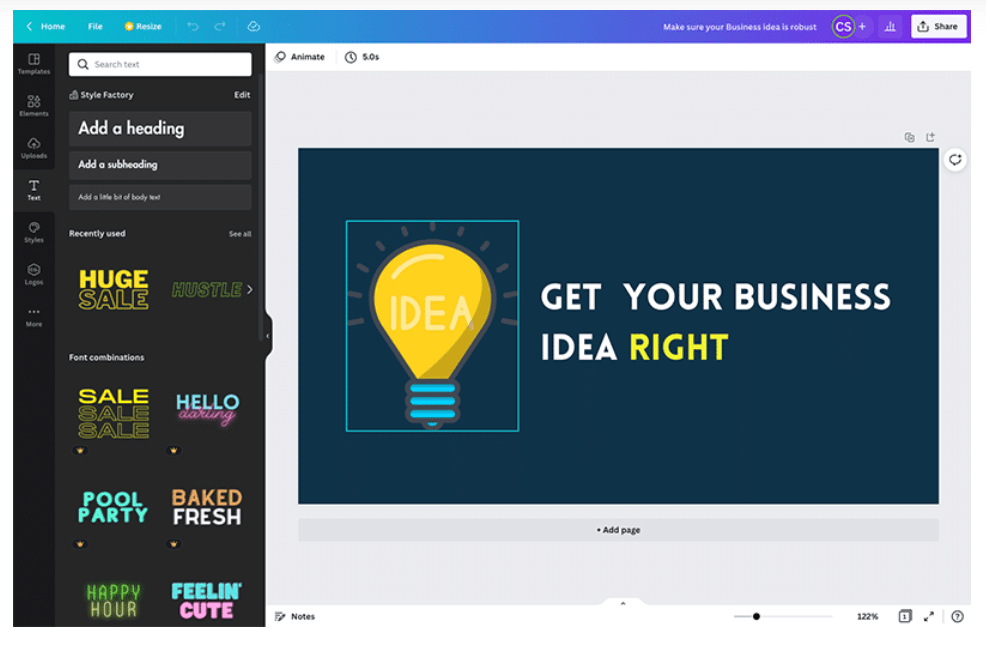
From there, it’s a case of editing the template so that it meets your needs. You can do this by clicking on one of the design’s elements (text, visuals etc.) and using the controls that appear above it to change that element.

Alternatively, you can replace the placeholder content with your own images or text (or add additional pictures and copy).
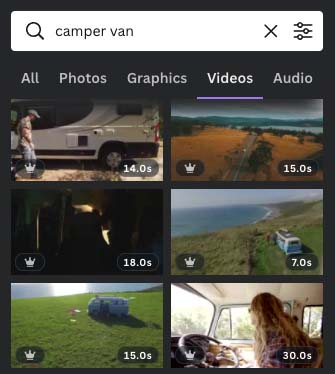
To add an image, you can either search for an element from Canva’s ‘elements’ library (hundreds of thousands are available, and I’ve yet to come across a search phrase that isn’t adequately catered for).
You just click on an element to add it to your design, and you can resize it easily to suit your purposes.
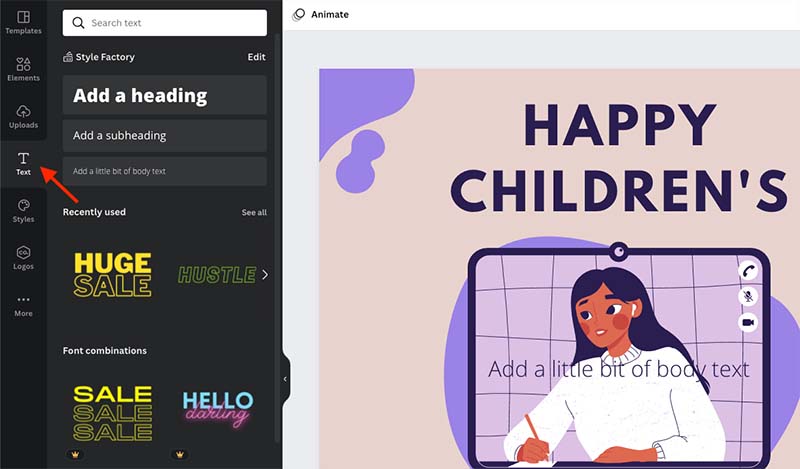
Where changing text is concerned, it’s simply a case of overwriting the existing copy, or using the ‘text’ tool (pictured below) to add new headings or body text.
Ultimately, the process involved in creating a design in Canva is simple and its interface is extremely user-friendly — anyone who’s used a word processor or a simple graphics tool will find the learning curve fairly non-existent.
(It’s also worth pointing out that the fact that Canva’s interface is available in over 130 languages helps matters from an ease-of-use point of view too).
So, it’s fair to say that Canva meets its goal of making graphic design accessible to non-designers.
Photo editing options in Canva
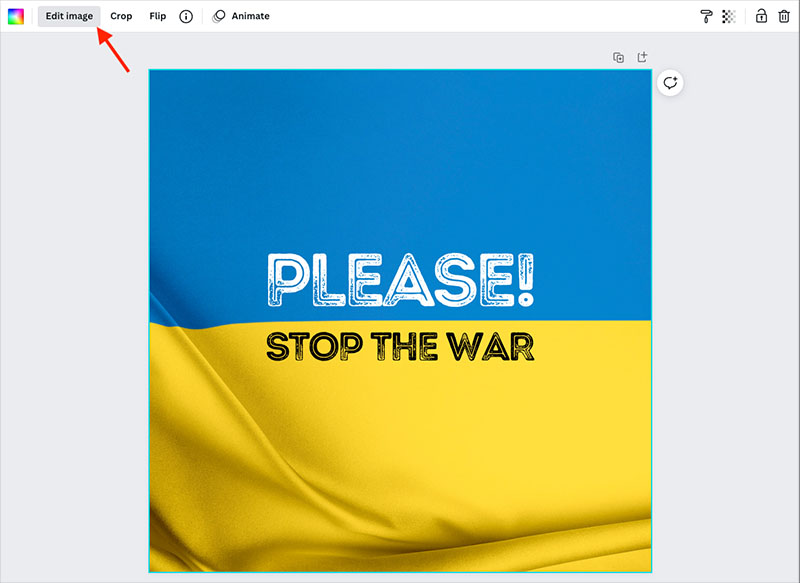
Once you’ve added a photo to a design, you can tweak it easily using Canva’s photo editing tool (you just click on a photo and then an ‘edit image’ button to do so).
This gives you access to a set of simple controls that let you alter that image’s appearance in various ways. Sliders to adjust brightness, contrast and saturation are provided, and you can also make use of Instagram-style filters.
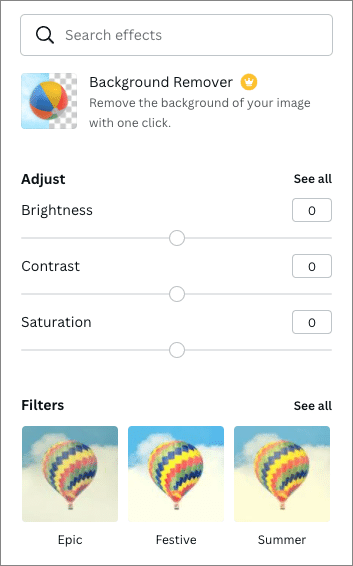
There’s also a handy ‘background remover’ tool that lets you remove / replace the background from photographs. This is particularly useful for creating headshot photos for websites, or thumbnails for YouTube videos.

As with much else in Canva, the image editing controls are very much of a ‘cut-down’ nature. But they feature the tools that are arguably of most relevance to the majority of users.
Editing videos in Canva
In addition to letting you create ‘static’ designs, Canva lets you create videos too. The process for video creation works in a broadly similar way to designing static content — you pick a template, tweak it, and add clips to your video as necessary.
Clips can either be imported to Canva’s uploads section, or you can add them from its extensive library of stock videos (which you’ll find in its ‘Elements’ section). Alternatively, you can use your webcam to record video directly into Canva.
The clips themselves can be tweaked — for example, you can crop, flip or animate them. But one particular ‘tweaking’ feature that’s worth singling out as being particularly impressive is Canva’s new video background removal feature (pictured below).

Although this is just available in BETA mode for now, and only works with videos that are 90 seconds or less in length, it’s very effective at stripping out busy backgrounds behind speakers — and just as easy to use as Canva’s background removal tool for static images.
Once you’ve got your video clips in place, a timeline lets you drag and drop them into place, trim them and create your final edit. You can also add audio to your video from a royalty-free library of over 25,000 pieces of music / sound effects.

Although the video creation functionality on offer from Canva is nowhere near as extensive as that which you’d find in a dedicated video editing application — you won’t be able to play with a wide range of transitions, or professionally grade your video content, for example — it’s extremely usable, and the built-in stock videos and audio libraries can help users save a lot of time and money.
How to access a 45-day free trial of Canva Pro
Canva normally makes a 30-day free trial of the ‘Pro’ version available.
However, for a limited time only, you can access a 45-day free trial of Canva Pro here. This gives you access to all Canva’s premium design tools, along with a huge library of stock images, graphics, video and audio.
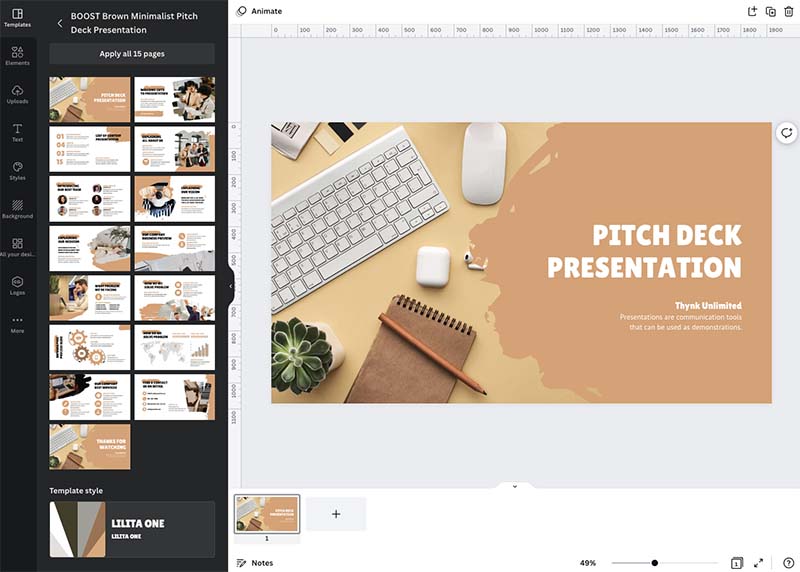
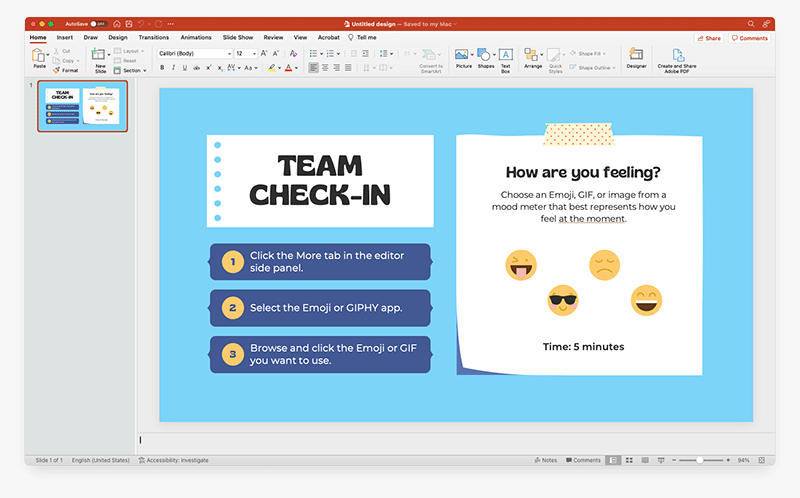
Creating presentations in Canva
A key use of Canva is as an alternative to Microsoft PowerPoint. It doesn’t give you all the bells and whistles that PowerPoint does (there are no 3D models or equation features to play with, for example, and the types of graphs you can insert are more basic). However, the range of tools on offer is still decent and the interface for designing presentations is extremely easy to use — in my view, easier than PowerPoint’s.
(You can check out our Canva vs PowerPoint comparison here.)
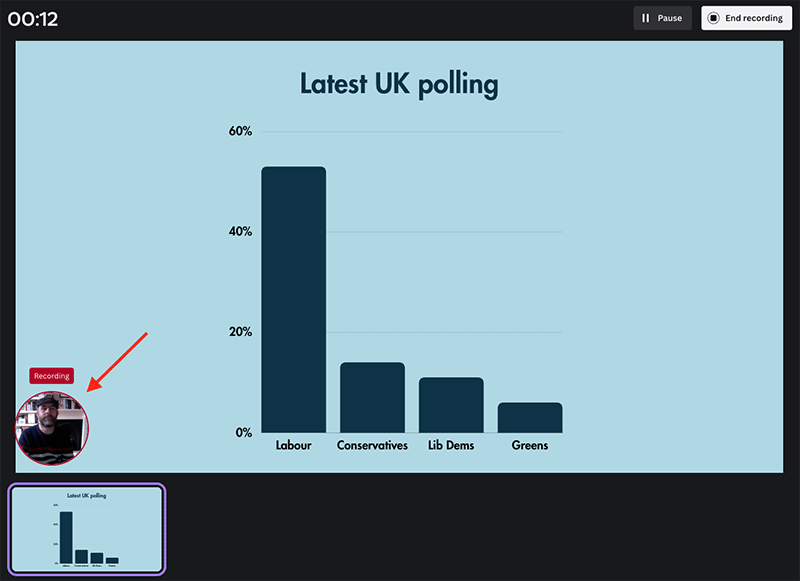
Recording a presentation is simple too; you can use your computer’s webcam and built-in microphone to record a video of yourself as you present the content (a circular video of you appears in the bottom left corner of the presentation when you do so — see highlighted section in screengrab below).
The only issue I have with working on presentations in Canva involves exporting them: although it’s perfectly possible to export to PowerPoint format (PPTX), it involves a strange and clunky process: you need to install a ‘Microsoft PowerPoint’ app before you can do so.
And, even when you’ve installed the app, you still don’t see a PPTX option in the sharing section’s ‘download’ menu — you have to click on a ‘more’ link and locate the PowerPoint option amongst a bunch of other sharing options. It would be much better if you could simply choose to export designs to PPTX in the same manner as other file formats (I discuss exporting options in more depth shortly).
On the plus side, the app does a very good job of exporting to PowerPoint format: when testing the feature, I was pleased to see that the exported version looked exactly how it did in Canva (see screenshot below).
If you like, you can import PowerPoint files to Canva for editing too. My experience of this was less positive — the imported files didn’t look quite the same as they did in PowerPoint. Some of this was down to font choice (not all the typefaces you’ll find installed locally will be available in Canva), but other design elements didn’t import exactly as hoped for either.
Exporting your projects
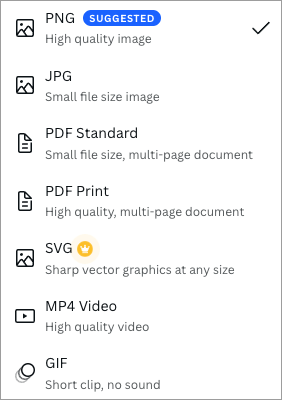
Once you’ve created your design or video in Canva, you can export it to a variety of formats, namely:
- PNG
- JPG
- PDF (low-res and print quality).
- SVG
- MP4
- GIF
- PPTX (via an app — more on this later)
To be honest, by comparison to professional design tools (or even similar ‘prosumer’ tools like Adobe Express), this is quite a small range of output formats, and represents one of the key drawbacks of Canva.
If you use a professional graphics or video editing package, you’ll be able to export your content into just about any format going — but Canva really limits your options here.
Significantly, you can’t export to Adobe Photoshop’s PSD format, meaning that if you want to start a design off in Canva and then send it to a professional graphic designer for enhancement, you’re out of luck.
(Workarounds for addressing this situation exist — involving converting files to PDF and using third-party tools to separate layers out — but they’re clunky).
And only one video export format is provided: MP4 (with no options provided to adjust its size or quality).
Now, to be fair, Canva does cover the basics with its output formats, and a lot of its users won’t really need a bunch of additional ones; the key aim of the product is to let people create quickly, and export simply. For most applications, the range of export formats will be fine (especially if you’re using Canva to create content that’s destined to be consumed online).
But some users will miss the flexibility to output in a format of their own choosing.
And speaking of flexibility…